|
||
|
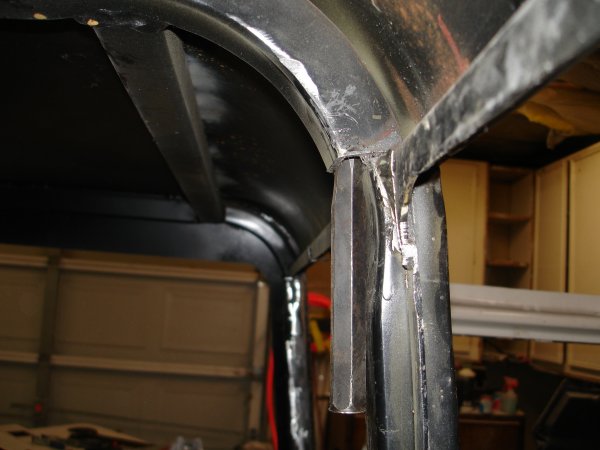
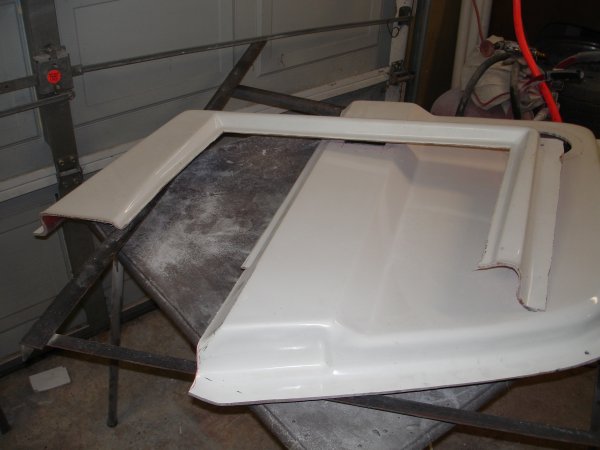
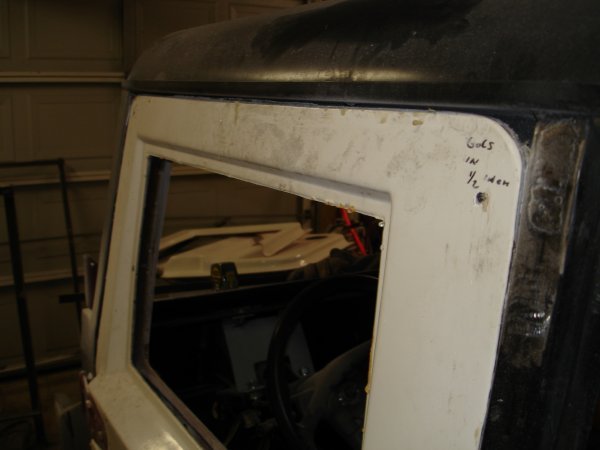
Finally got around to doing some work on the doors. These doors do not have any reflection on Urban Gorilla at all. These doors were made by a company that had purchased UG, went under and then was purchased by 4x4bodies. 4x4bodies has really stepped up and produced a quality product. If I had not purchased mine the way I did, I would have purchased mine directly from 4x4bodies. The doors that are provided by 4x4bodies are already finished and ready to install glass. The only way to go when doing this type of project. As you can see in the photos, I had to butcher the doors to get them to fit. The outer shells were taken out of the molds way to early and the glass work was below anything I've ever seen. The gel coat looks OK but has thin spots. When the glass was laid down air was not removed in corners and I am having to find these spots and chip them out from the outside. Makes for a lot of body work. The inner shells have the same problem as the outers. The glass work on both was not consistent and there are high and low spots. Where more glass is needed there is little. You may also remember that when I first got the UG I noticed the passenger side B pillar was not done correctly. There is about a 1/2 inch bend into the interior. First thing I had to do was make sure the B pillar was at the correct angle.
It was. Now the hard part. I had to figure out how to cut the pillar out of the roof. The gutter that runs the length of the top was just tack welded in, so I cut the welds. Took a grinder on the inside and cut the B pillar. By putting a 3/4 inch chisel into the top part I was able to get the gutter section perfect.
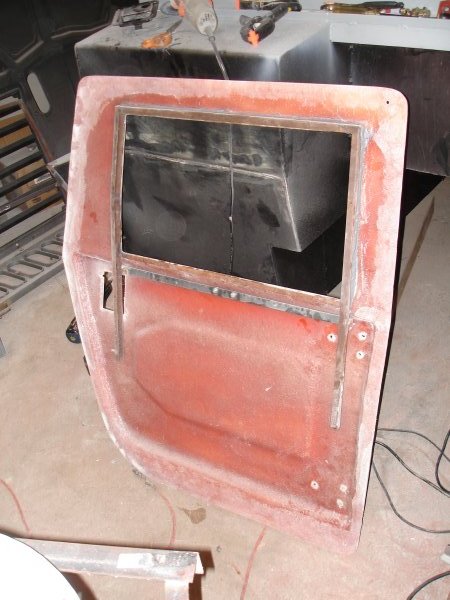
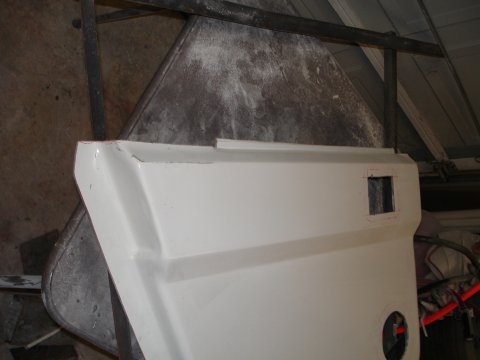
The above picture shows just how far out the B pillar was. Once I had the correct straight line I welded every thing back in. I still have to figure what to do with the inside part of the B pillar. Back to the doors. Here you can see that the window channel has been epoxied in. I also put sealer along the edges. I latter glassed the outside area.
I had to make sure that the area where the channel was glued had plenty of area to make contact and get a real good bond.
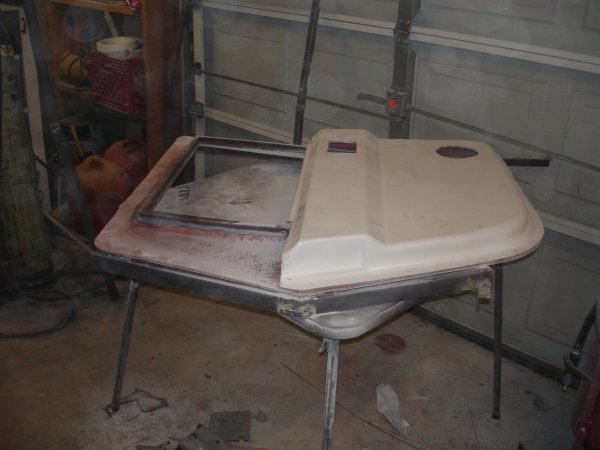
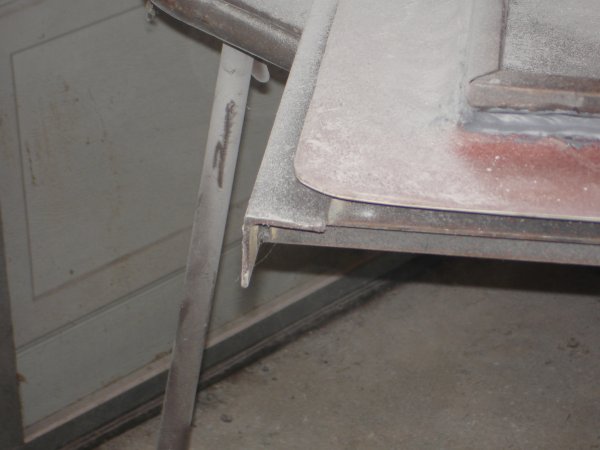
Here was the hard part. Cutting the inside panel in half. Wasn't really sure if this would work or not. I had to do something. By cutting the panel in half I was able to glass in the bottom half mounted to the jig and then the top half mounted to the jig. This allowed for a perfect fit once the door was taken out of the jig. Below the panels you can see the jig that was used. Each door had its own jig that was welded up to match the body.
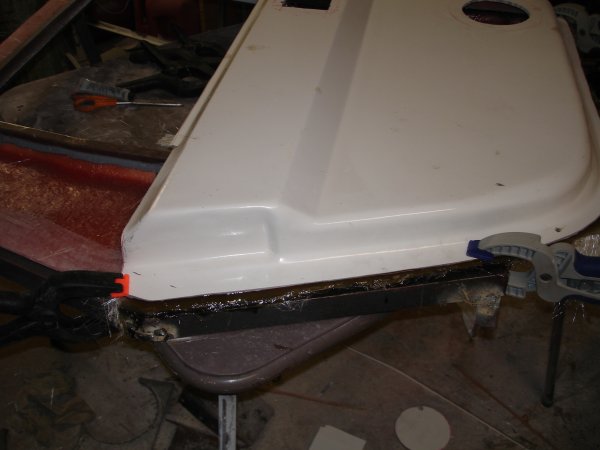
I then placed the outer shell on the jig. I cut the opening for the speakers and the door latch.
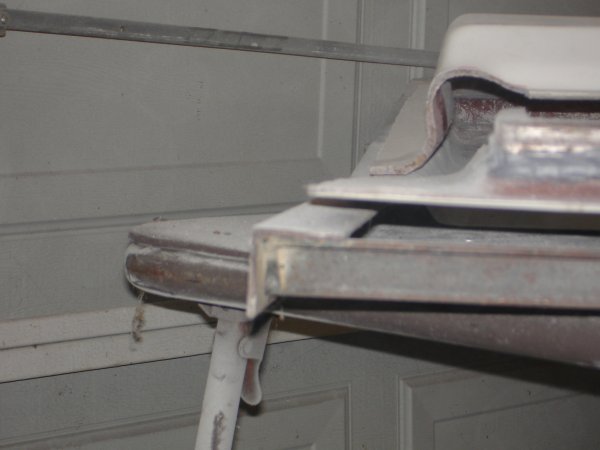
I had to spend a considerable amount of time sanding and grinding to get the sides to match up nice. When I placed the panel on the jig, you can see just how far off the the panel sits above the jig.
I proceeded to glass in the lower section.
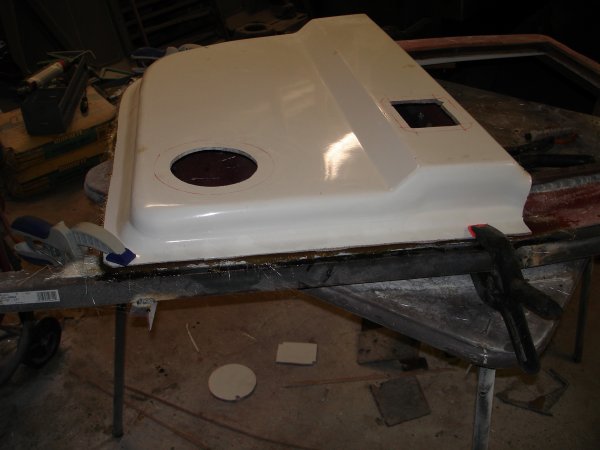
It's truly amazing that how easy it was to glass this up. The clamps that I used worked great as they applied just the right amount of pressure.
Here I have a picture of the drivers door with everything glassed in.
I have plenty of body work to do but at least what I'm doing is working. As of this posting I have three of the four doors glassed up and ready for body work. I'll post these pictures soon. You can also see where the door rounds off and the opening is square. I'll have to weld up this area. I've mounted the seats and have started mocking up the dash. Pictures to follow soon. Stay tune. | ||